How to Install
Create a file
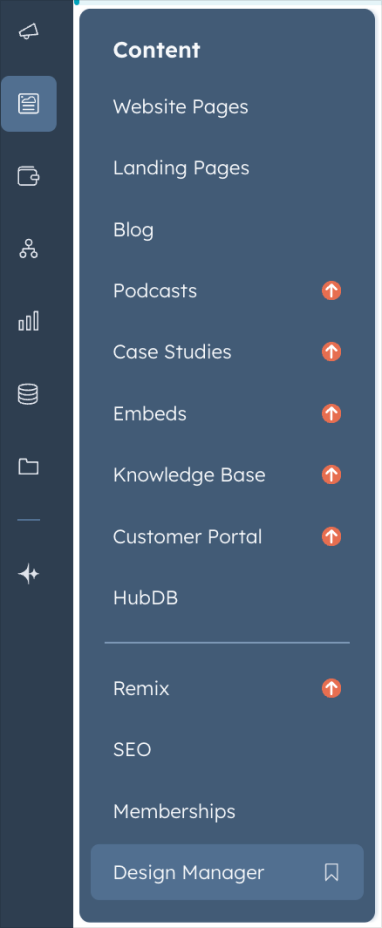
1. Navigate to Content then Design Manager to create a file.
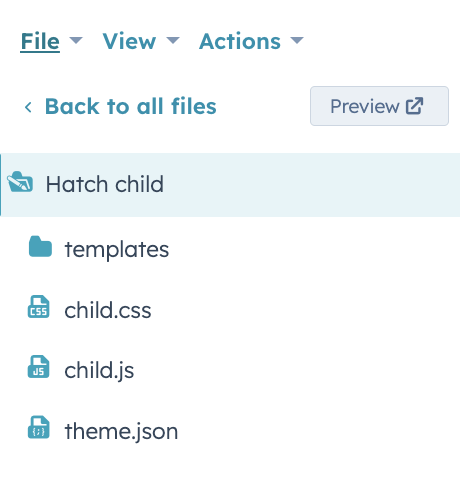
2. Inside Design Manager, locate your Hatch child theme folder.
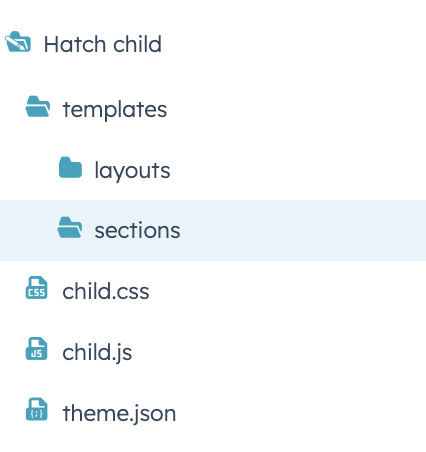
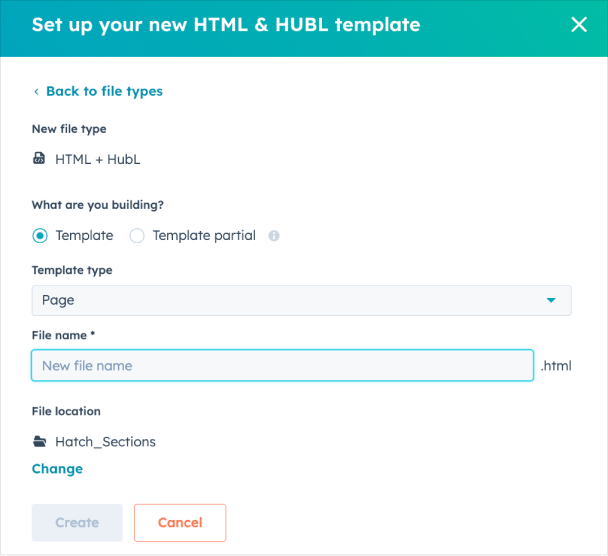
3. Within the child theme directory, navigate to the 'template' folder. Here, you can create a new folder named 'sections' within the 'template' folder.
4. Then create a file inside the newly created folder.
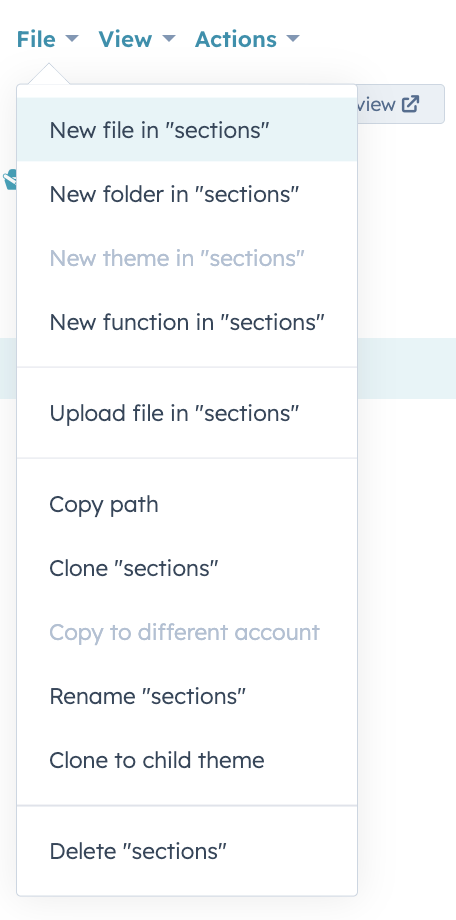
4. Select HTML + Hubl then hit Next button.
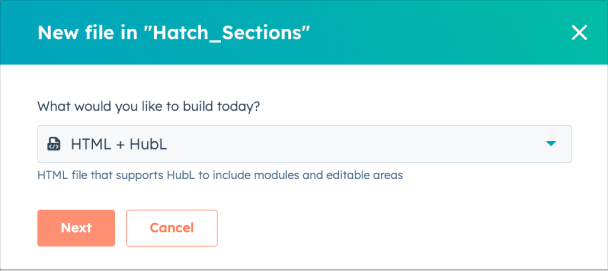
5. Add the name of the file based on the section you want to install. (Example: Hero with Logo and Counter)
6. Then, you can see the newly created file with the default code.
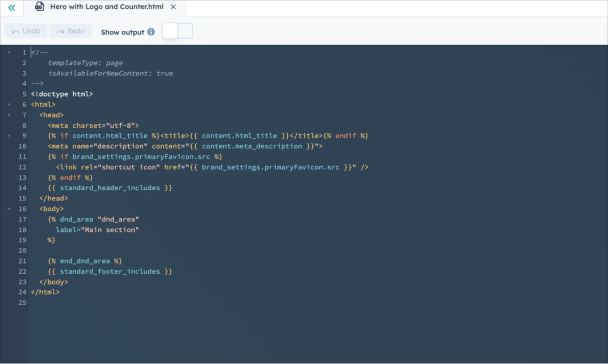
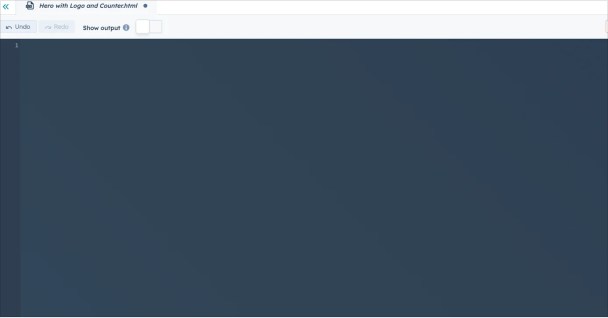
7. Remove all the built-in code of this file by pressing ctrl+a if you're using Windows Operating System and command+a if you are using Mac OS then press delete.
8. On the 'Sections Library' page, Click the 'Code' button to see the whole section code.

9. After clicking the 'Code' button, a new page will open in new tab showing the section template code. Highlight the code by pressing ctrl+a if you're using a windows operating system and command+a if you are using Mac OS and then copy the highlighted codes by pressing ctrl+c if you're using a windows operating system and command+c if you are using Mac OS.
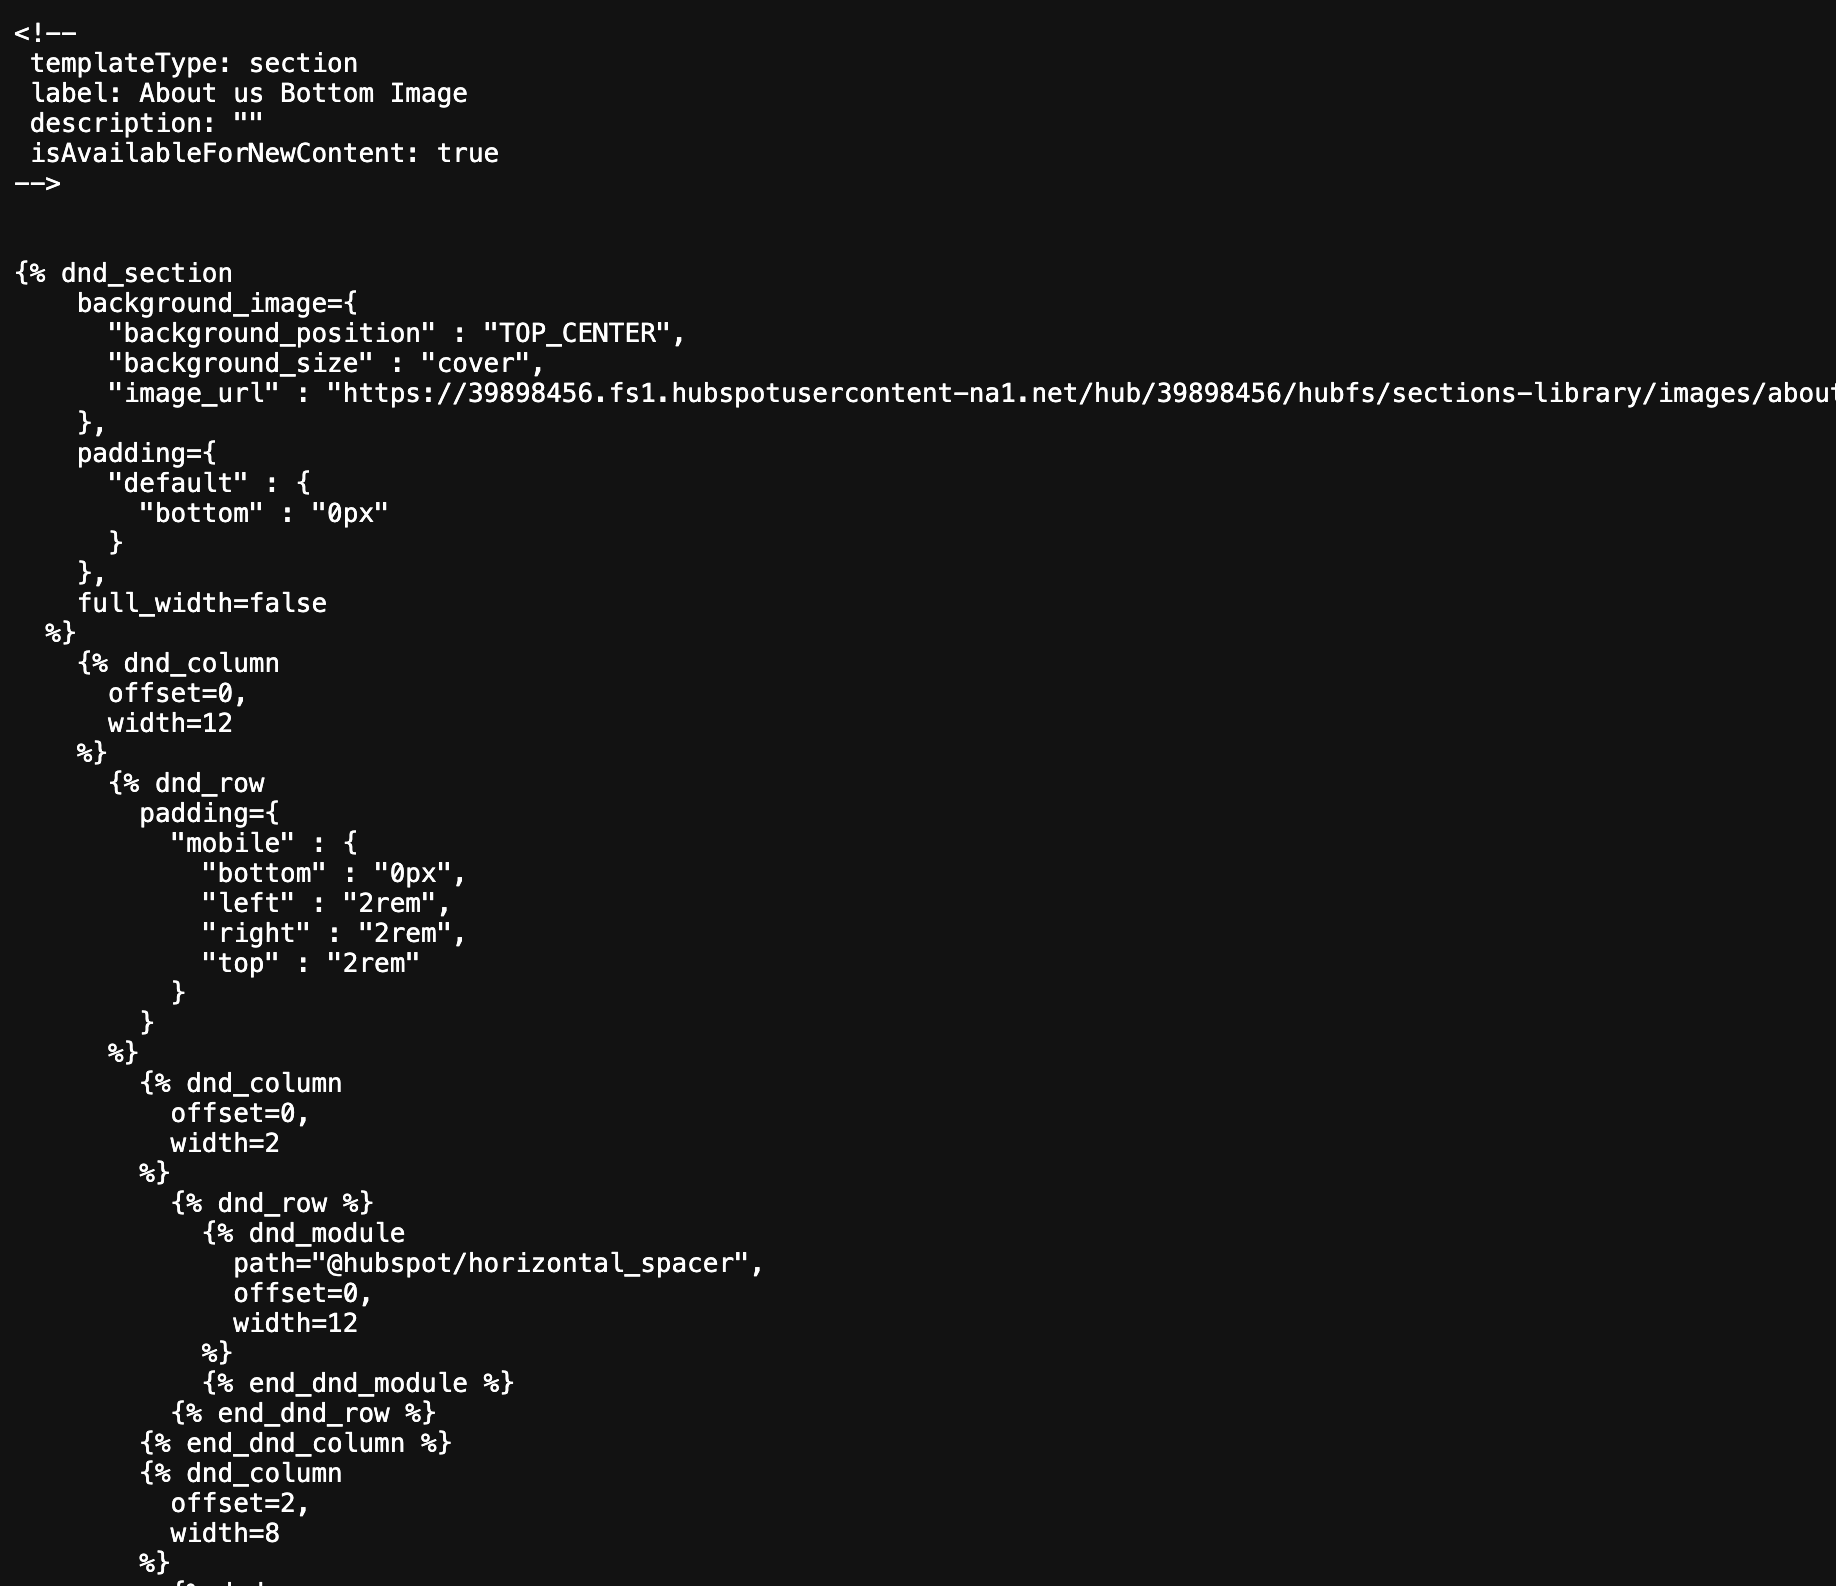
10. Paste the section code to the file your created.
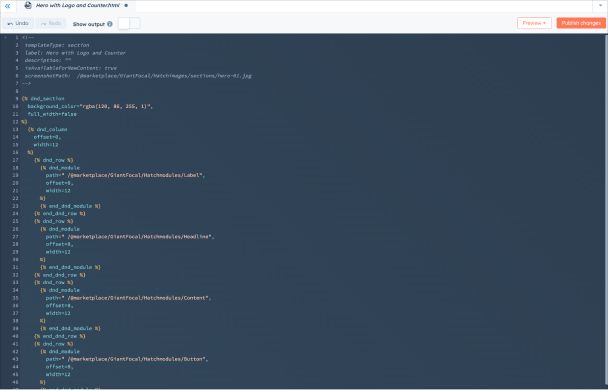
11. Hit "Publish changes" button on the upper right.
Add the section to the page
1. On your page editor, search the section template you created (Example: Hero with Logo and Counter)
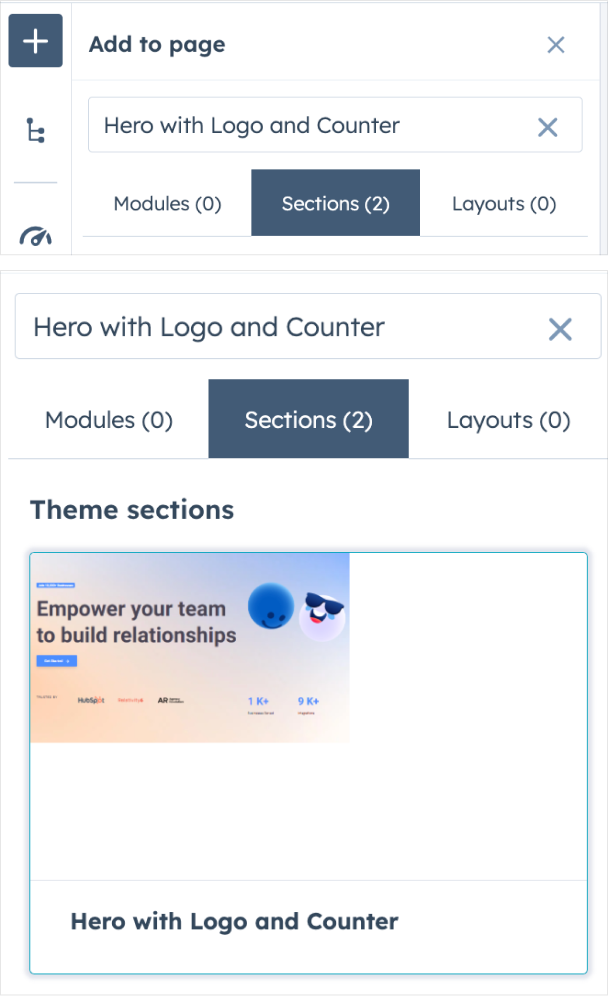
2. Add the section to the page editor.